
In a world dominated by TV screens, video games, and tablets, you might be looking for a family activity that gets the kids off the couch and engaged creatively.
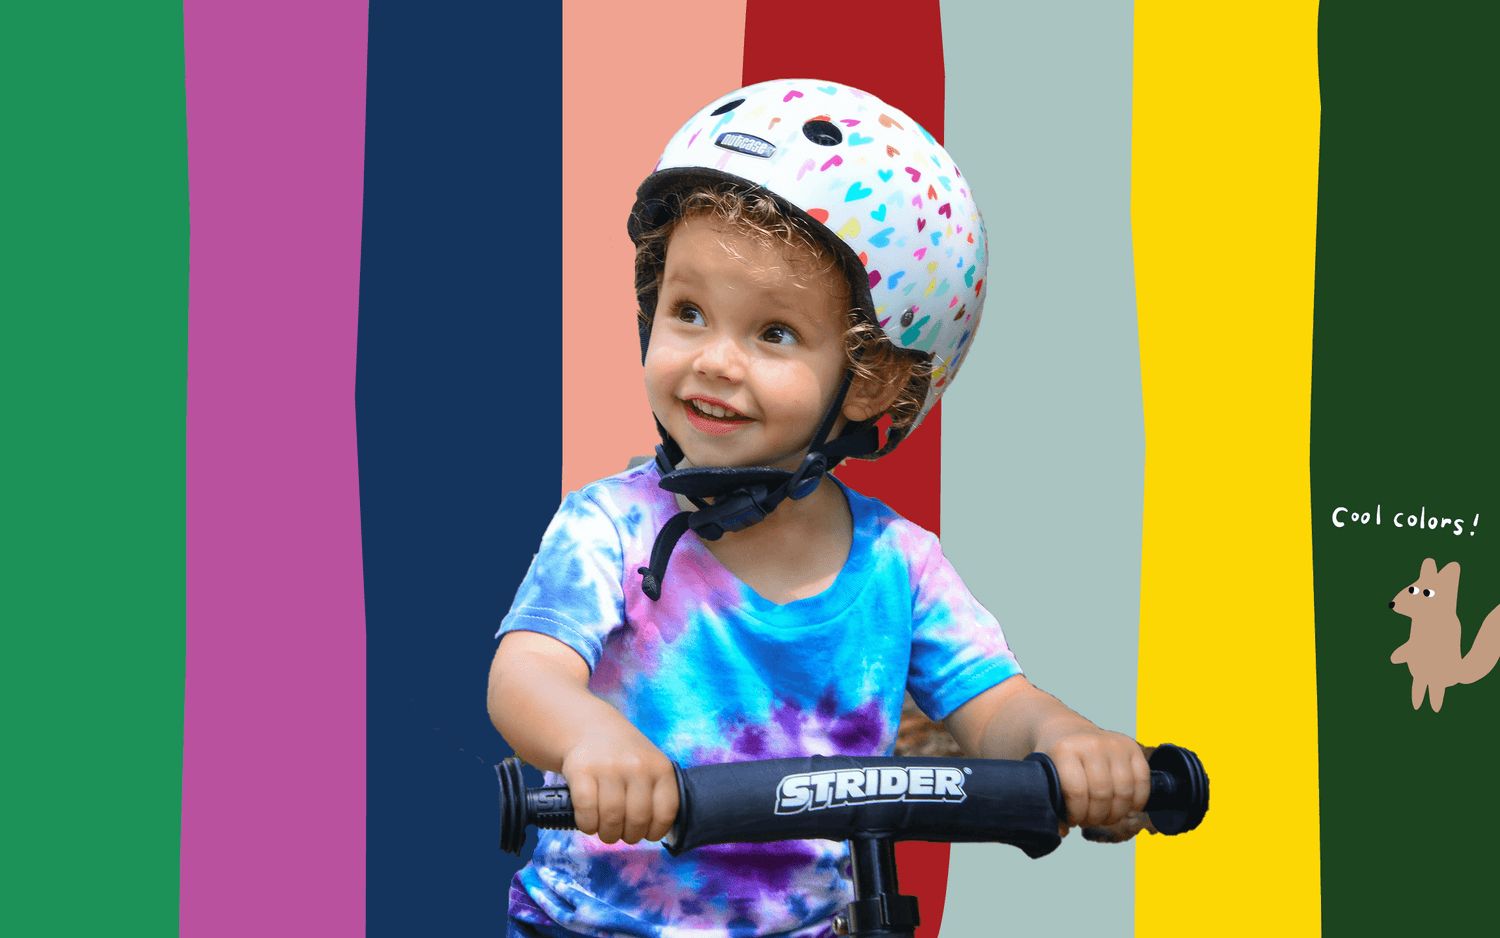
On a hot summer day, what could be better than rounding up the family and heading out to the yard for a session of tie-dye fun? It’s simple, it’s wholesome, and you end up with a series of groovy t-shirts that your kids will treasure and be proud to wear. Just be sure to avoid wearing nice clothes that you care about when partaking in tie-dye because things are going to get messy. That goes for your kids as well.
If you want to add tie-dye to your activities list but aren’t sure where to start, we are happy to help. Follow our beginner’s guide to tie-dye and prepare for hours of outdoor fun with the family.
Get Supplies Together
These days, it’s super easy to grab a tie-dye kit from a crafts store or order one from the internet. Some kits include just the dye, while others have all the other little items you need for a successful tie-dye experience.

Here is a list of the basic items you’ll want to have at the ready.
White Shirts
Load up on plenty of white t-shirts in all the correct sizes for you and your family. Of course, there will be mess-ups and redos, so it’s wise to buy more than you think you need.
Blank white tees can be found in bulk at most craft stores, and we recommend getting a fit that your kids can grow into a bit. You want to maximize the usage of these tie-dye tees before you recycle them or give them away.
Pure cotton shirts are the most popular, but you can also try a 50/50 cotton/poly blend for a more vintage and muted look for the finished product.
Rubber Bands
Stock up on rubber bands and be ready to use a lot—big bands, small bands, and every size in between. You’re going to need them to create designs and make the best tie-dye shirts possible with your kids.
Plastic Bags
If you’ve been upcycling plastic grocery bags for years, this is your opportunity to put them to good use. You’ll want to double bag every shirt once they’re wet and dyed and throw them into a large trash bag to contain them all in one place, minimizing potential leakage.
Gloves
Latex gloves are going to save your skin and make the experience much easier overall. Pick up a few packs in all sizes so that you and the kids have the right fit.
Set Up Your Space
Tie-dye can get messy fast, and that’s part of the fun! However, you probably want to avoid doing tie-dye inside if you can.
Opt for an outdoor location like the porch, the backyard, or even the driveway if the heat isn’t too blazing. You’ll also want a flat surface like a table and maybe a bin or a metal roasting pan to contain the mess when the dye starts flying.
Keep around some towels, some extra bins, and maybe a hose if you have access to one. You’ll want to scrub down all those surfaces when all is said and done.
The Process
Every tie-dye kit is a little bit different, so before you even break open the box, read the instructions at least once, so you know exactly what you’re doing.
You only have so much time and a limited amount of materials to work with, and once that dye is flowing, there’s no turning back! Some kits will even come with an online video tutorial or DVD that you can watch with the family for a crystal-clear explanation.
In general, however, most tie-dye kits follow a pretty predictable set of steps. Here are some common instructions you’ll be expected to follow for perfect tie-dye shirts each time.
Pre-Wash Shirts
Fresh-off-the-rack cotton shirts are a bit starchy and won’t hold the dye as well as you’d like. Send all of those shirts through the wash and dryer before you start the project.
You also want to wet the shirts slightly in the sink so that they are just damp enough to fold and dye to your liking. Too dry, and the dye won’t stick. Squeeze most of the water out, but don’t allow them to dry in full.
Rubber Band Time
Folding is the key to planning out what designs you want in your final product, and there are several ways to handle this step.
You can simply give your kids the rubber bands and let them freestyle the designs, or you can explain to them the concept behind tying the shirts in a way that will result in specific patterns.
It’s also not a bad idea to tie a few shirts of your own so that you can give your kid a more professional-looking t-shirt at the end of the day. That’s why you bring plenty of shirts to the party – to experiment and try as many styles as you want.
Here are a few patterns you can try with different folds and rubber band placements:
When there’s no more material to twirl, secure the rubber bands in place across every angle, so it’s even.
- Bullseye: Another favorite is the bullseye, which begins with pinching the central point while picking up the shirt to drape below. Start wrapping rubber bands about an inch below the pinch point and add more bands around the “tail” until it’s complete.
- Striped: Start with an accordion fold from the bottom of the shirt all the way to the top. The tighter the folds, the more stripes will be visible in the final product. Wrap it all up with rubber bands from one end to the other.
There are so many more tie-dye patterns to try, and it’s worth testing out different designs because – why not?
Mix and Use Dye
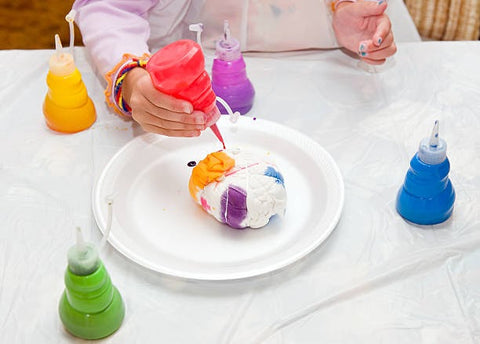
Here’s the fun part: colors! Mix your dye right before it will be used to get the best effect and show your kids how to use the squirt bottles properly.
You can also explain to them what the finished shirts will look like with each design and guide them through the process.
Wash, Wrap, and Wait
When the dyeing process is complete, secure each shirt in individual plastic bags, then store them all in a larger trash bag for about 24 hours. When it’s time to break them out, give them a deep wash and dry them on full blast to lock in the colors.
A Colorful Conclusion

You now have a whole new wardrobe of tie-dye t-shirts for your little ones so that they can wear their creations all summer long! A tie-dyed shirt looks perfect under a pocket dress or paired with a pair of cute shorts. The possibilities are endless!
Sources:
15 Tie Dye Patterns And Step-By-Step Instructions For Any Skillset | Scary Mommy
Tie-Dye With the Kids : 8 Steps (with Pictures) | Instructables

Leave a comment
This site is protected by hCaptcha and the hCaptcha Privacy Policy and Terms of Service apply.